2diy Assembly Guide
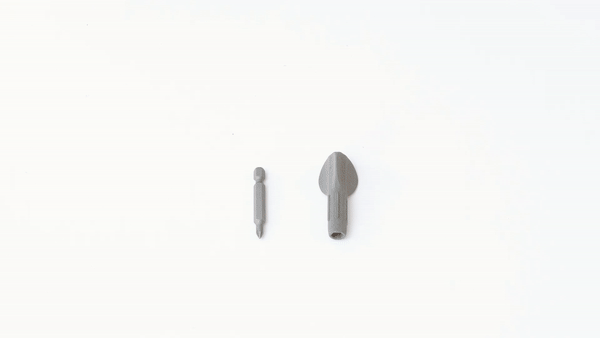
Step 1
Assemble the screw driver tool.
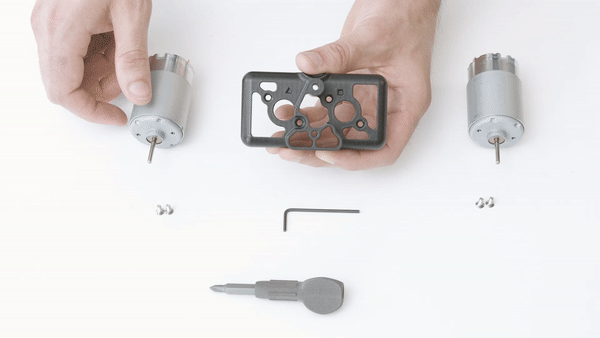
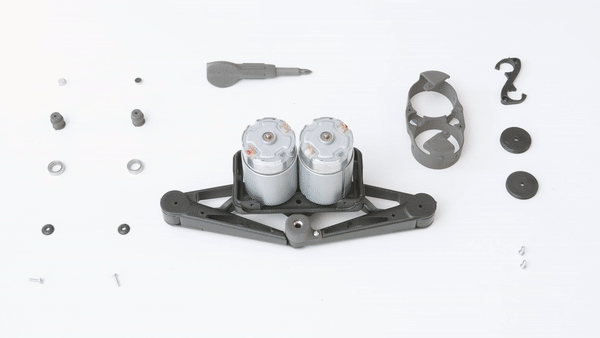
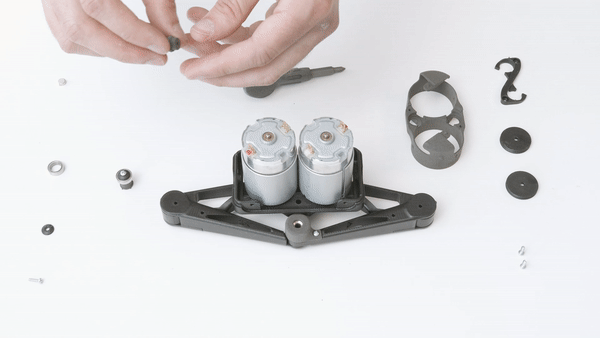
Step 2
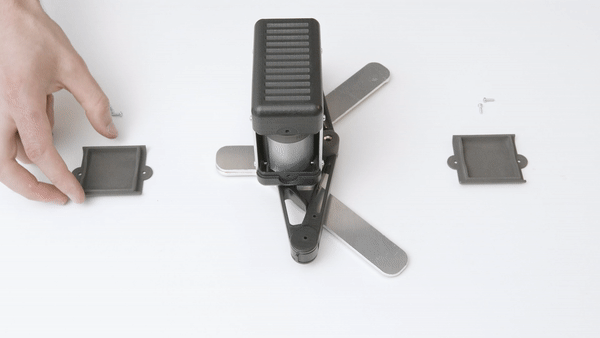
Attach motors to base panel.
- Place the motor shaft through the Base Panel.s
- Align the two motor screw holes holes.
- Place and secure 2 Motor Mounting Screws through the screw holes.
Step 3
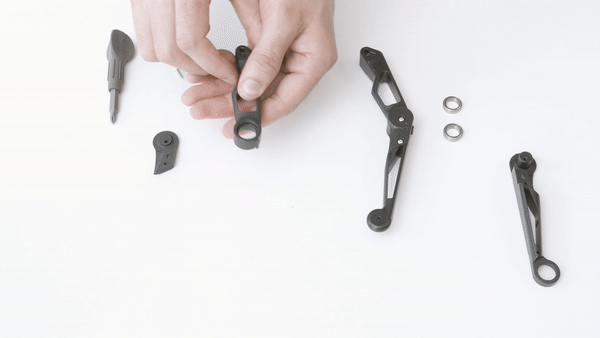
Assemble Arms.
- Place 2 Large Bearings in each slot of the Rear Triangle Arm.
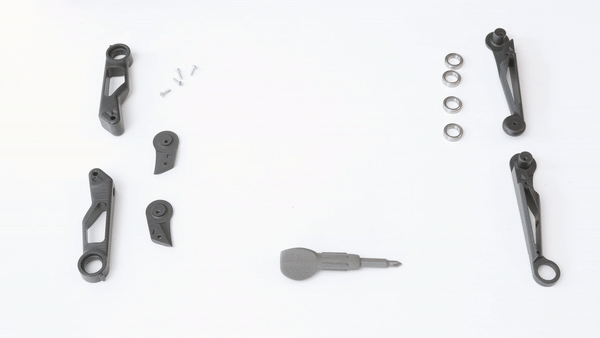
- Place the Front Triangle Arm through the bearings of the Rear Triangle Arm
- Attach Triangle Elbow Clip over the arm elbow.
- Secure the Triangle Elbow Clip with 2 Plastic Screws.

- Repeat with Square Arm Parts.
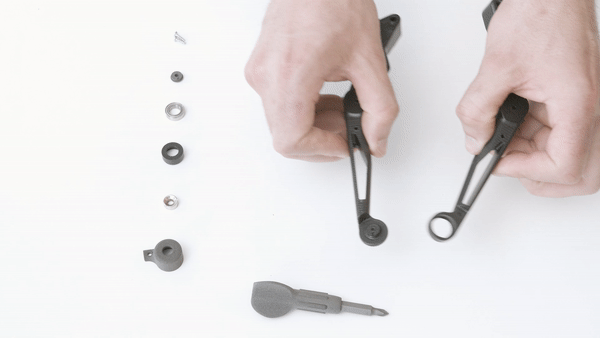
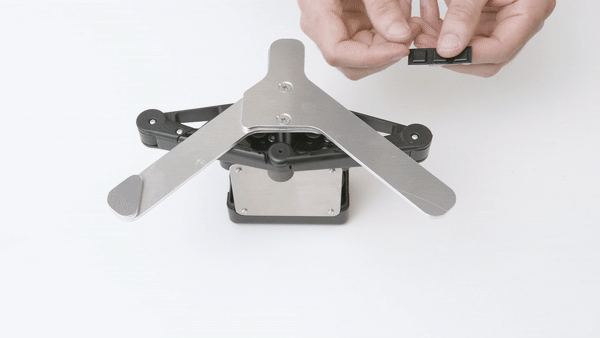
Step 4
Join the Arms.
- Place both Arm Fronts together.
- Place Medium Bearing in slot.
- Place ID Bearing Lock over the bearing.
- Place and secure with a Plastic Screw.
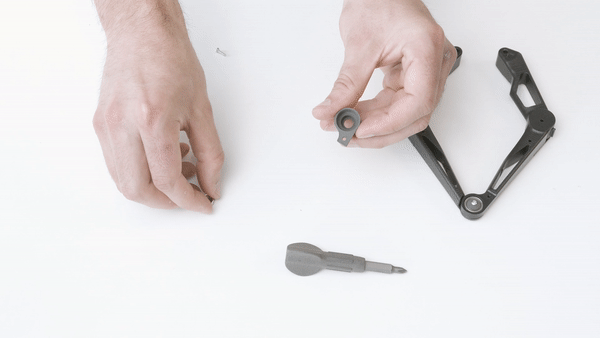
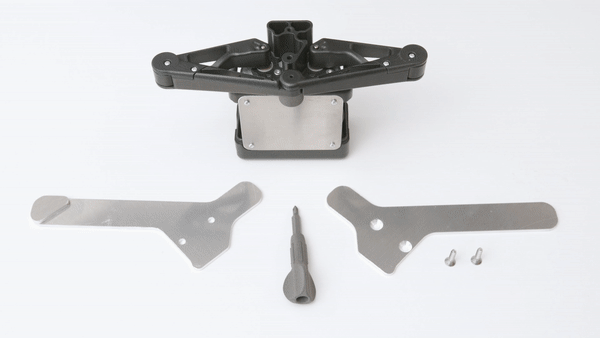
Step 5
Assemble the End Effector.
- Place Hemispherical Magnet inside the Magnet Cover.
- Place Hemispherical Magnet inside the Magnet Cover.
- Place Magnet Spacer on top of the Hemispherical Magnet.
- Flip the Magnet Spacer so it sits atop the joined arms.
- Secure with a Plastic Screw.
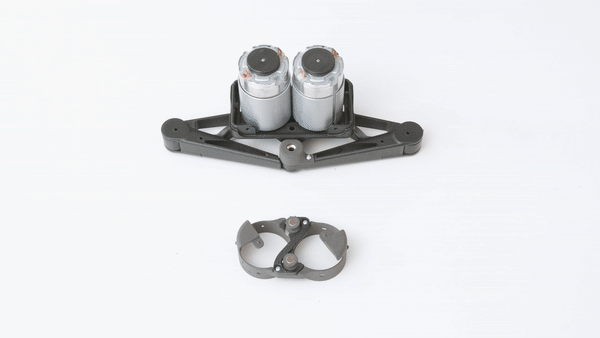
Step 6
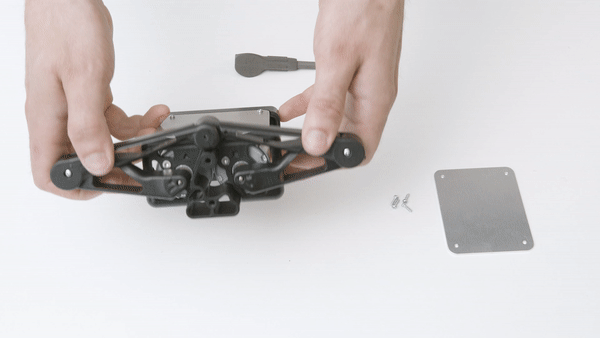
Join Arms with Base Panel.
- Align the end of the triangle arm with the triangle inlay on the Base Panel
- Align the end of the square arm with the square inlay on the Base Panel.
- Align both Motor shafts so that their flat parts align perpendicularly with the line inlay on each arm.
- Place the arms onto the motor shafts.
- Secure each arm with a Plastic Screw.

Step 7
Build Pulleys.
- Place Diametric Magnet in Small Pulley slot.
- Flip the Small Pulley and place Bearing over the Small Pulley.
- Place Pulley Anchor over Bearing.
- Secure with Plastic Screw
- Repeat to build the second pulley
Step 8
Assemble the Encoder Frame.
- Place both Pulleys bearing-side down into the slots of the Encoder Frame
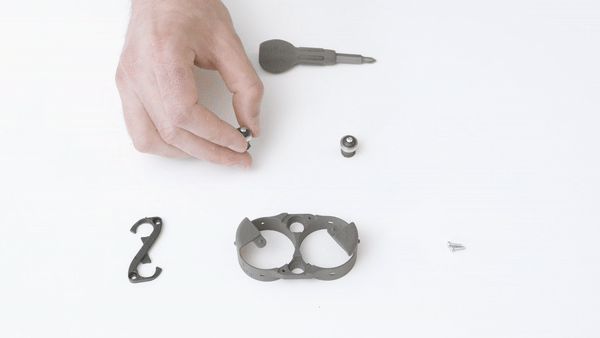
-
Place the Infinity Plate on the Encoder Frame such that it sits snuggly around the two bearings while aligning with the two screw holes.
-
Secure with Plastic Screws

- Place a Large Pulley over each motor shaft end.

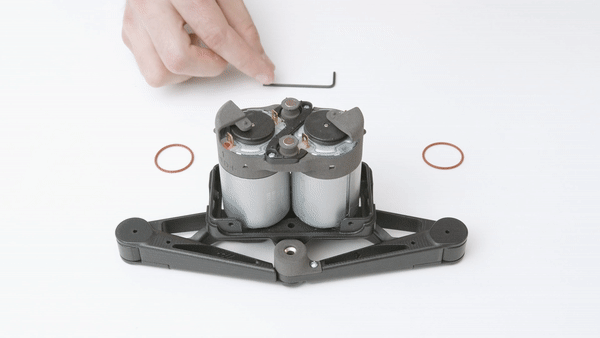
Step 9
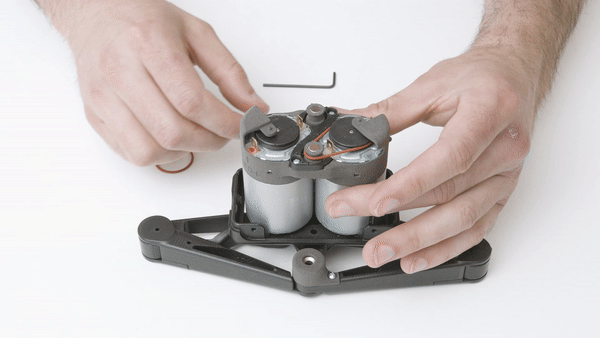
Place Encoder Frame on Motors.
- Slide the Encoder Frame on Motors such that the "Red" inlays align with the red positive pins of the motors
Step 10
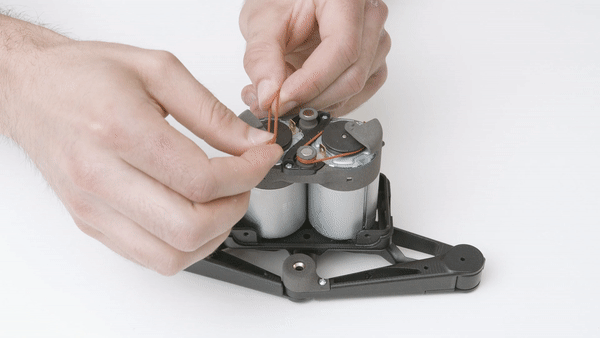
Secure the Encoder Bands
- Wrap the first Encoder Band around the right Large Pulley and the front Small Pulley
- Carefully make a second loop over the small Small Pulley to increase the tension.
This step is difficult
Repeat with second Encoder Band.
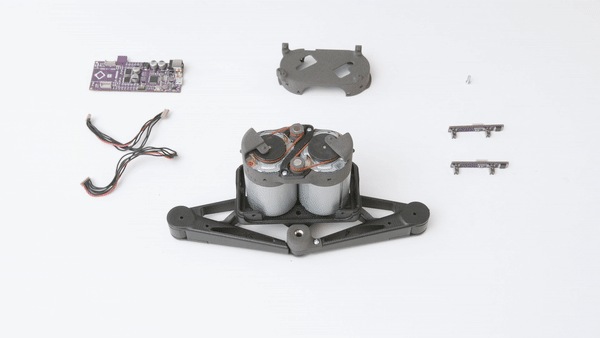
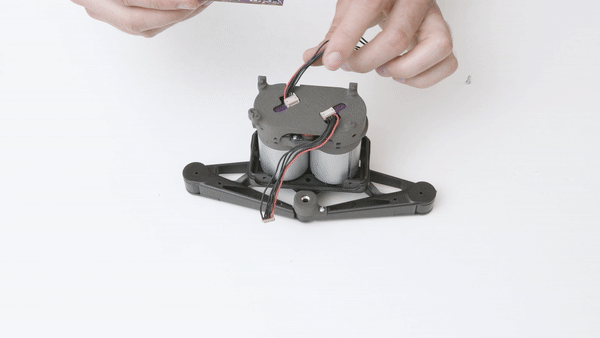
Step 11
Attach the Encoder Boards.
- Place the Encoder Boards over each of the Motors's encoder pins - the wire sockets should be facing outwards.
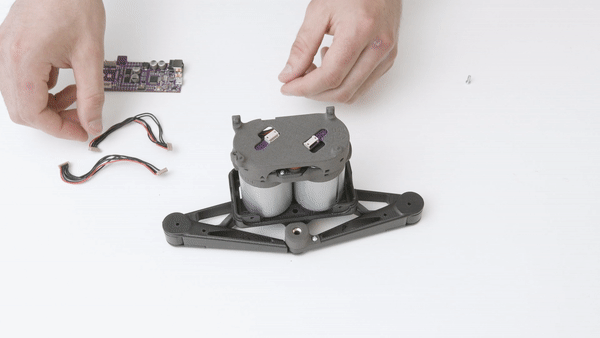
Step 12
Attach the Encoder Board Wires.
- Place the Board Mount on top the encoder mechanism - the "USB" inlay points to the right.
- Connect the wires to the sockets with the red wires towards the outward sides.
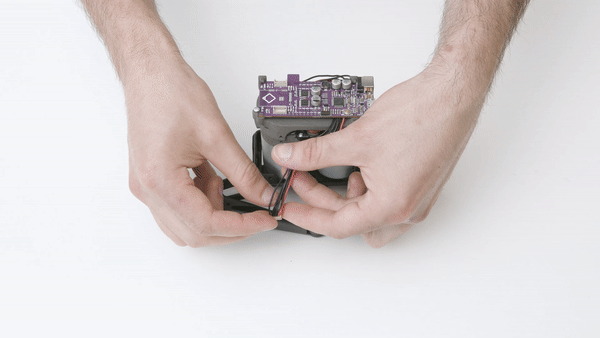
Step 13
Attach the Haply M0 Board.
- The M0 Board slips underneath the grip on the Board Mount - USB port off to the right.
- Secure the board down with a Plastic Screw.
- Attach the wires to the M0 Board sockets.
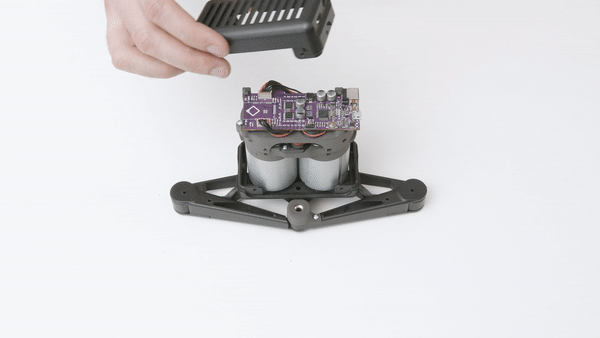
Step 14
Attach the Top Panel.
- Place the Top Panel over the M0 Board aligning the positions of the USB and POWER sockets.
Step 15
Attach the Front and Back Panels.
- Align the Front and Back Panels to the screw holes on the device and secure with Plastic Screws
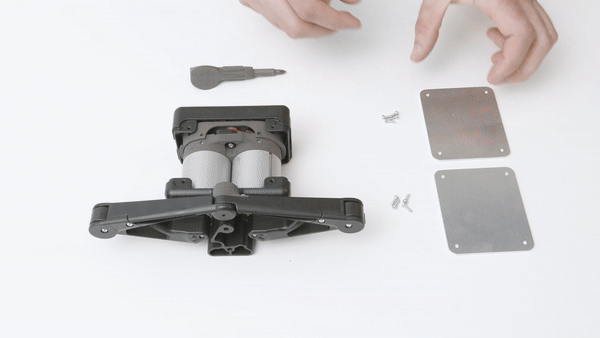
Step 16
Attach the Legs.
- Flip the device on it's head.
- Place the Foot Leg on top of the of the Countersunk Leg (with it's foot facing up)
- Place the two Legs over the screw holes on the bottom of the device.
- Secure the legs with the Leg Screws.
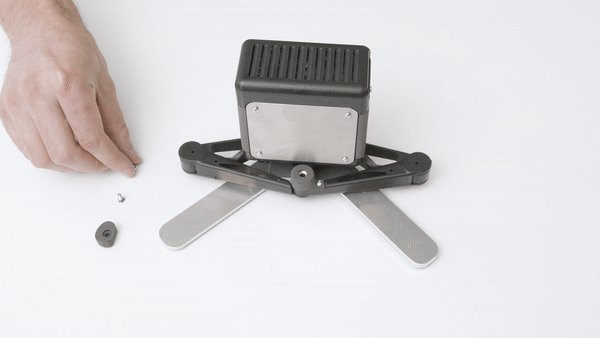
Step 17
Apply Foot Stickers.
Step 18
Attach the Side Panels with Plastic Screws.
Step 19
Assemble the Handle.
- Place a plastic screw through the Handle.
- Flip the Handle and screw on the Steel Sphere.